Android測試訂閱專案建置
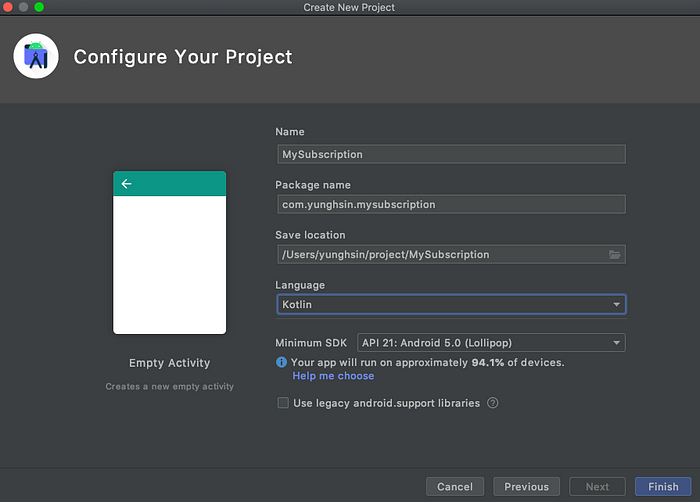
(1)先建立一個新的Android專案,取名為MySubscription

(2)打開build.gradle,在dependencies區塊加入需要的billing library,裝好後記得Gradle Sync一下,就可以開始準備寫Code了
def billing_version = "3.0.0"
implementation "com.android.billingclient:billing-ktx:$billing_version"
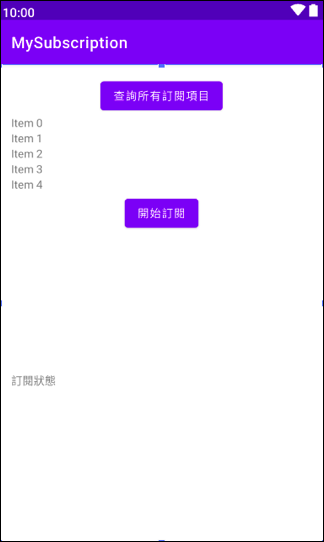
(3) 先來打開acitivity_main.xml來寫個臨時的訂閱UI,會有一個查詢按鈕,負責觸發去查詢在Google Play Console加入的訂閱項目,項目列表會放在recyclerView,接著會選擇其中一個訂閱項目,按下“開始訂閱”按鈕,就會進入Google Play的付款流程了! 而跟Billing Library互動的狀態會像寫log一樣顯示在訂閱狀態的TextView。

(4) 建立RecycleView跟對應的Adapter還有item UI

(5) fun intBilling(),在MainAcitivity內加上Billing Library的物件,並做初始化以及跟Google Play進行連線
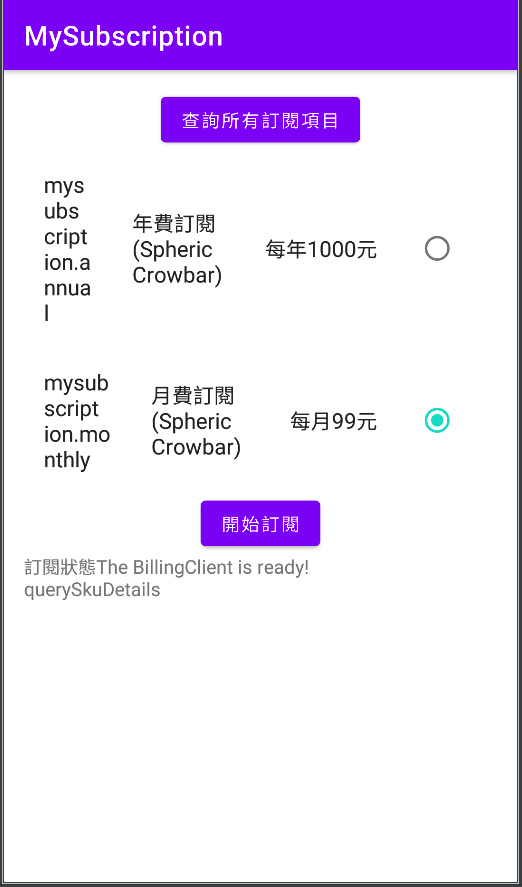
(6)fun querySkuDetails(),初始化並連線成功後(BillingClient.BillingResponseCode.OK),可以進行拿取訂閱商品的資料,這裡我的訂閱id暫時寫”mysubscription.monthly”跟”mysubscription.annual”,分別是APP最常見的月費跟年費制的訂閱
(7)基本上如果Google Play Console有設定好訂閱項目,就可以收到訂閱項目的回傳,格式會如下 ,這裡我就定義一個SkuItem Class來接收 ,把它加進RecyclerViewAdapter裡:
{
    "productId": "mysubscription.monthly",
    "type": "sub",
    "price": "$99.00",
    "price_amount_micros": 9900000,
    "price_currency_code": "TWD",
    "title": "月費訂閱",
    "description": "每月99元",
    "skuDetailsToken": "XXXXXXXXXXXXXXXXXXXXXXXXXXX"
}
(8)有了訂閱項目後,就可以開始進行訂閱動作,這時只要將訂閱項目裡的SkuDetails物件,傳給BillingClient的launchBillingFlow即可,若沒有意外的話,就可以看見Google Play的訂閱畫面了!(有意外的話,去查一下Error Code看是什麼失敗原因)

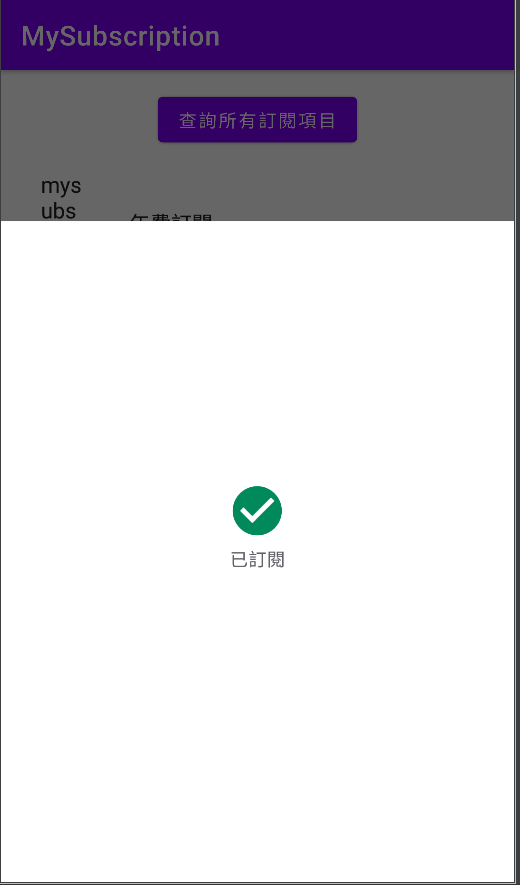
(9) 如果訂閱成功後,Google Play會跳出訂閱成功的畫面,並會回傳訂單資訊給APP,裡頭會包含一個purchase.originalJson,格式如下:
{
     "orderId": "GPA.xxx–xxxx–xxxx–xxxxx",
     "packageName": "com.yunghsin.mysubscription",
     "productId": "mysubscription.monthly",
     "purchaseTime": 1615086729110,
     "purchaseState": 0,
     "purchaseToken": "xxxxxxxxxxxxxxxxxxxxxxxxxxxxx",
     "autoRenewing": true,
     "acknowledged": false
}接下來你就可以回頭看一下在initBilling()裡的PurchasesUpdatedListener,對訂單進行處理
val purchasesUpdatedListener =
    PurchasesUpdatedListener { billingResult, purchases ->
        // To be implemented in a later section.
        if(billingResult.responseCode == BillingClient.BillingResponseCode.OK) {
            binding.queryResult.appendWithLine("PurchasesUpdatedListener is called")

            purchases?.let{
                for(purchase in purchases){
                    parsePurchase(purchase)
                }
            }

        }
    }
(10) 最後要做的步驟就是要將訂單資訊上傳給My Server進行訂單的驗證。
private fun parsePurchase(purchase:Purchase){
    binding.queryResult.appendWithLine(purchase.originalJson)
    when(purchase.purchaseState){
        Purchase.PurchaseState.PURCHASED-> {
            //購買成功,準備上傳訂單給My Server
        }
    }
}
Android APP端訂閱的部分算是完成了,再來就是要處理My Server的實作了,請接續看Part3!
